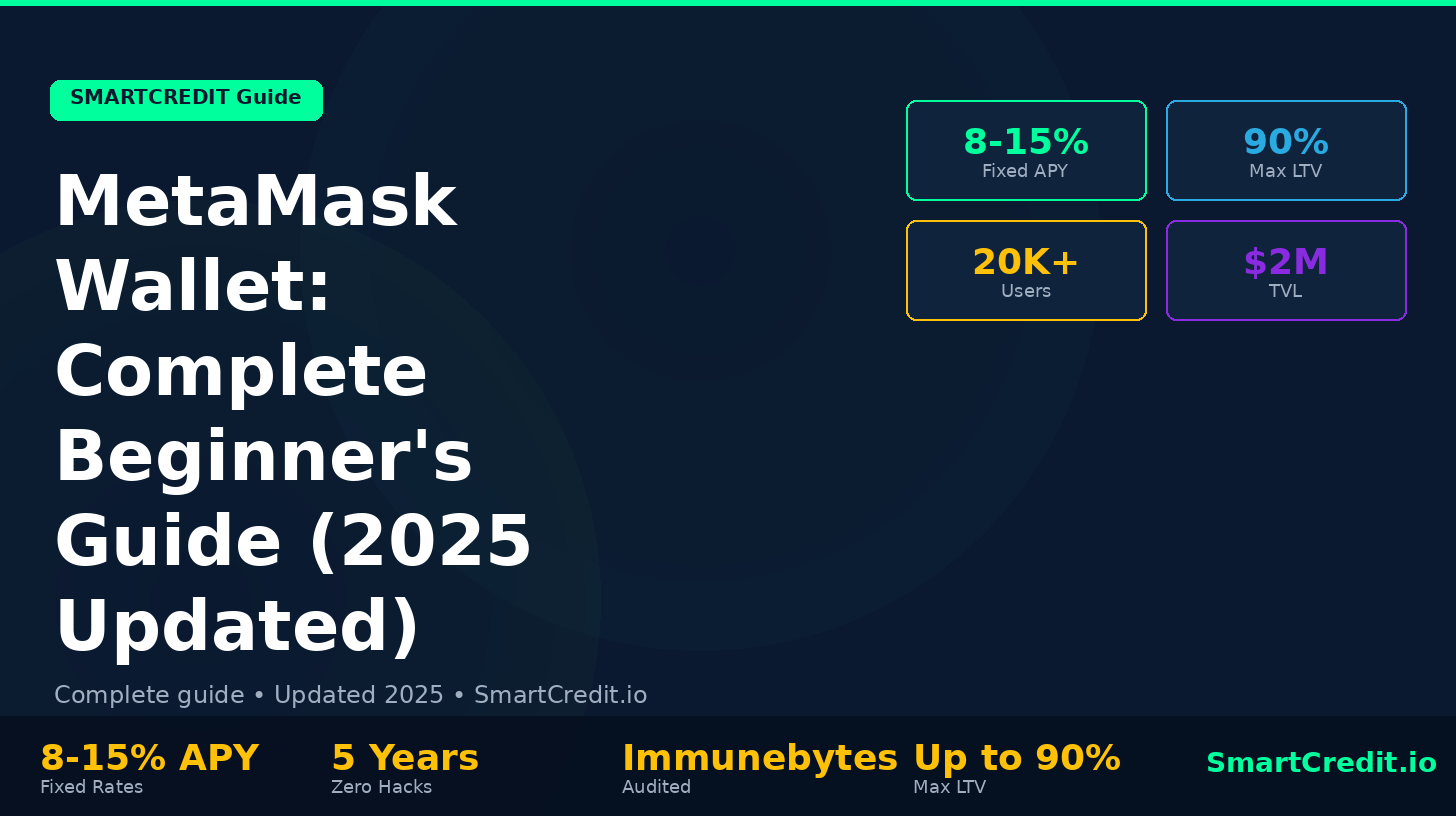
MetaMask is the world’s most widely used Web3 wallet, with over 30 million active users. It’s the front door to Ethereum, DeFi, NFTs, and the entire decentralized web. If you want to lend, borrow, stake, or trade crypto without a centralized exchange, MetaMask is where you start. This complete 2025 guide walks you through installation, setup, adding networks, security, gas fees, and how to connect to your first DeFi app — step by step.
What Is MetaMask?
MetaMask is a non-custodial, self-custody crypto wallet — meaning only you hold your private keys. No company, bank, or third party can access or freeze your funds. It was launched in 2016 by ConsenSys and has become the standard gateway to Ethereum and all EVM-compatible blockchains.
MetaMask is available as a browser extension (Chrome, Firefox, Brave, Edge) and a mobile app (iOS and Android). It lets you:
- Store, send, and receive ETH and thousands of ERC-20 tokens
- Connect to decentralized applications (DApps) like Uniswap, Aave, and SmartCredit.io
- Swap tokens directly inside the wallet
- Add multiple blockchain networks (Polygon, BNB Chain, Arbitrum, Avalanche, and more)
- Manage NFTs and digital collectibles
- Connect to hardware wallets (Ledger, Trezor) for enhanced security
- Use MetaMask Snaps to extend functionality to non-EVM chains like Bitcoin and Solana (2024–2025 feature)
How to Install MetaMask: Step-by-Step
Step 1 — Download from the Official Source Only
⚠️ Critical security warning: Always download MetaMask from metamask.io or directly from your browser’s official extension store. Fake MetaMask extensions are a common attack vector. Double-check the URL before installing.
- Chrome / Brave / Edge: Visit metamask.io, click Download, then “Install MetaMask for Chrome” → Add to Chrome → Add Extension.
- Firefox: Visit metamask.io, click Download, then “Install MetaMask for Firefox” → Add to Firefox.
- iOS: Search “MetaMask” in the App Store. Install the one with 10M+ downloads — look for the official orange fox logo.
- Android: Search “MetaMask” in the Google Play Store. Same — verify the fox logo and download count.
Step 2 — Create Your Wallet
Once installed, click the MetaMask fox icon in your browser toolbar (or open the mobile app) and select “Create a new wallet.”
- Agree to the terms and choose whether to share analytics (this has no effect on wallet security or functionality).
- Create a strong password. This password unlocks MetaMask on your device — it is NOT your seed phrase. Use a unique password you don’t use elsewhere.
- Watch MetaMask’s short security explanation video — it’s worth 2 minutes of your time.
- Reveal your Secret Recovery Phrase (SRP) — a 12-word phrase generated uniquely for your wallet.
- Write it down on paper. Store it offline. Never type it into any website, app, or cloud service. This phrase is the master key to your wallet — anyone who has it has full access to your funds.
- Confirm your SRP by entering the words in the correct order.
- Your wallet is created. You’ll see your Ethereum address (starting with 0x…) in the dashboard.
In 2025, MetaMask also offers a Social Login option (browser extension only) — link your Google or Apple account with a password. This is more beginner-friendly but slightly less decentralized than SRP. Both are legitimate options; SRP is the recommended standard for maximum ownership.
Step 3 — Fund Your Wallet
You can fund your MetaMask wallet two ways:
- Buy directly in MetaMask: Click “Buy” in the wallet interface. MetaMask integrates with providers like MoonPay, Transak, and others for credit/debit card and bank transfer purchases. Available options depend on your country.
- Transfer from a centralized exchange: Buy ETH on Coinbase, Binance, or Kraken, then withdraw to your MetaMask Ethereum address. Always send a small test amount first.
Understanding Gas Fees in MetaMask
Every transaction on Ethereum (and most EVM networks) requires a gas fee — a small payment to the network validators who process your transaction. Gas is always paid in the native token of the network you’re using: ETH on Ethereum, MATIC on Polygon, BNB on BNB Chain, etc.
Key things to know about gas fees:
- Gas fees fluctuate based on network congestion. During busy periods (market spikes, popular NFT drops), fees can be very high.
- MetaMask shows you an estimated gas fee before you confirm any transaction — you can always cancel if fees seem too high.
- You can set gas to “Low,” “Market,” or “Aggressive” in MetaMask — lower gas = cheaper but slower, aggressive = faster but more expensive.
- Layer 2 networks like Arbitrum, Optimism, and Polygon have gas fees that are 10–100x cheaper than Ethereum mainnet. For regular DeFi use, L2s are highly recommended.
- You must always hold a small amount of the network’s native token to pay gas. No ETH = no transactions on Ethereum mainnet.
How to Add Networks to MetaMask
By default, MetaMask connects to Ethereum Mainnet. But it supports all EVM-compatible networks. Here’s how to add popular ones:
Method 1 — Auto-Add via ChainList (Easiest)
Visit chainlist.org, search for your network, and click “Add to MetaMask.” This auto-fills all network details securely — no manual entry required.
Method 2 — Manual Add
- Open MetaMask and click the network dropdown (top left — shows “Ethereum Mainnet” by default).
- Click “Add a custom network.”
- Enter the network details (Network Name, New RPC URL, Chain ID, Currency Symbol, Block Explorer URL).
- Click Save, then “Switch to network.”
| Network | Native Token | Gas Cost | Best For |
|---|---|---|---|
| Ethereum Mainnet | ETH | High ($2–$50+) | High-value transactions, major DeFi protocols |
| Arbitrum One | ETH | Very Low ($0.10–$1) | DeFi at low cost, same Ethereum security |
| Optimism | ETH | Very Low ($0.05–$0.50) | DeFi apps, low-cost trading |
| Polygon PoS | MATIC / POL | Very Low (<$0.01) | NFTs, gaming, entry-level DeFi |
| BNB Chain | BNB | Low ($0.10–$0.50) | Binance ecosystem DApps |
| Avalanche C-Chain | AVAX | Low ($0.05–$0.50) | DeFi, bridging |
How to Connect MetaMask to a DeFi App
MetaMask becomes truly powerful when you connect it to DeFi protocols. The process is the same for virtually every DApp:
- Navigate to the DApp’s official website. Always verify the URL — bookmark sites you use regularly to avoid phishing.
- Click “Connect Wallet” (usually in the top-right corner of the page).
- Select “MetaMask” from the wallet options.
- MetaMask will pop up asking you to approve the connection. Review what permissions are being requested, then click Connect.
- You’re connected. The DApp can now read your wallet address and request transaction signatures — but it can never move funds without your explicit approval in MetaMask.
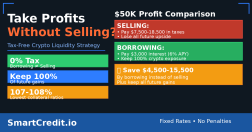
Once your MetaMask is set up and funded, SmartCredit.io is one of the best first DeFi protocols to connect to. It offers fixed-rate lending, fixed-rate borrowing against ETH collateral, and leveraged Lido staking — all from a single non-custodial interface with audited smart contracts.
MetaMask Security: 10-Point Checklist
MetaMask security is entirely your responsibility. Here’s the complete checklist every MetaMask user should follow:
- ✅ Store your Secret Recovery Phrase offline, on paper, in a secure location. Never digitally — no photos, no cloud docs, no email drafts.
- ✅ Never share your SRP with anyone, ever. MetaMask support will never ask for it. Anyone who asks for it is a scammer.
- ✅ Use a unique, strong password for your MetaMask local lock — different from any other password.
- ✅ Lock MetaMask when not in use, especially on shared devices.
- ✅ Bookmark official DApp websites (MetaMask.io, Uniswap.org, SmartCredit.io) and always navigate from bookmarks.
- ✅ Verify every transaction before confirming. Check the recipient address, amount, and gas fee in the MetaMask popup. Never rush.
- ✅ Regularly revoke unused token approvals using tools like Revoke.cash. Old approvals are a major exploit vector.
- ✅ Consider a hardware wallet (Ledger, Trezor) for holdings above $1,000. MetaMask integrates with all major hardware wallets — your private keys never touch the internet.
- ✅ Be suspicious of “free mint,” “claim your airdrop,” and “urgent wallet verification” messages. These are almost always phishing attempts.
- ✅ Use separate MetaMask accounts for different risk levels: one for DeFi interaction, one for long-term storage, one for high-risk experiments.
MetaMask Snaps: What’s New in 2025
MetaMask Snaps, launched in 2023 and expanded significantly through 2024–2025, are JavaScript plugins that extend MetaMask’s capabilities beyond EVM networks. Key things you can do with Snaps:
- Connect to Bitcoin, Solana, and other non-EVM blockchains directly from MetaMask
- Get transaction previews and simulation — see exactly what a transaction will do before signing it
- Add on-chain notifications for DeFi positions, price alerts, and wallet activity
- Enable custom account types and multi-sig functionality
To install a Snap: open MetaMask → click the three dots menu → “Snaps” → “Explore Snaps.” Only install Snaps from trusted, audited sources.
MetaMask vs. Other Wallets: Quick Comparison
| Wallet | Type | Best For | Multi-Chain | Hardware Support |
|---|---|---|---|---|
| MetaMask | Hot (browser + mobile) | Ethereum & EVM DeFi | ✅ All EVM chains | ✅ Ledger, Trezor |
| Phantom | Hot (browser + mobile) | Solana ecosystem | ⚠️ Solana-first | ✅ Ledger |
| Rabby | Hot (browser) | Advanced DeFi users | ✅ All EVM chains | ✅ Ledger, Trezor |
| Ledger | Cold (hardware) | Long-term cold storage | ✅ Multi-chain | N/A (is hardware) |
| Coinbase Wallet | Hot (browser + mobile) | Beginners, Base network | ✅ EVM + some others | ✅ Ledger |
What to Do After Setting Up MetaMask
Your MetaMask wallet is set up and funded. Now what? Here are the most productive next steps for a new DeFi user:
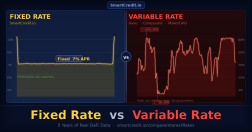
- Earn yield on your ETH or stablecoins. Instead of letting assets sit idle in your wallet, deploy them on a fixed-rate DeFi lending protocol. SmartCredit.io’s Fixed Income Funds offer fixed-rate returns on ETH and stablecoins — locked in at the moment you deposit, no variable rate risk.
- Stake your ETH. Use Lido to stake ETH and receive stETH, earning the Ethereum network staking reward (~3–5% APY). For amplified returns, SmartCredit.io’s Leveraged Lido Staking lets you earn 2x–5x the standard Lido APY.
- Borrow against your ETH without selling it. SmartCredit.io allows you to use ETH or stETH as collateral to borrow at a fixed rate — giving you liquidity without triggering a taxable disposal event.
- Explore other DeFi protocols like Uniswap (token swaps), Aave (lending/borrowing), and Curve (stablecoin pools).
- Upgrade to a hardware wallet once your holdings are significant. MetaMask integrates seamlessly with Ledger and Trezor.
Frequently Asked Questions
Is MetaMask safe to use?
MetaMask itself is secure — your private keys are stored locally on your device, never on MetaMask’s servers. The risks come from user behavior: sharing your seed phrase, installing fake versions, approving malicious transactions, or clicking phishing links. Follow the 10-point security checklist above and your MetaMask wallet will be safe.
How do I add networks to MetaMask?
The easiest method: visit chainlist.org, find your network, and click “Add to MetaMask.” Alternatively, go to MetaMask → network dropdown → Add a custom network → enter the RPC details manually. Always verify network details from official sources before adding manually.
What happens if I lose my MetaMask password?
Your MetaMask password only unlocks the wallet on your current device. If you forget it, you can restore your wallet on a new installation using your 12-word Secret Recovery Phrase. This is why storing your SRP offline is critical — it’s the only way to recover access if you lose your device or forget your password.
Can MetaMask hold Bitcoin?
Natively, MetaMask is an EVM wallet and does not support Bitcoin directly. However, MetaMask Snaps (the plugin system launched in 2023 and expanded in 2024–2025) allow you to add Bitcoin support through approved third-party Snaps. For large Bitcoin holdings, a dedicated Bitcoin wallet or hardware wallet is still recommended.
What are MetaMask gas fees and how do I reduce them?
Gas fees are payments to Ethereum validators for processing your transaction. To reduce gas costs: (1) Use Layer 2 networks like Arbitrum or Optimism where fees are 10–100x lower; (2) Time your transactions during off-peak hours (weekends, early morning UTC); (3) Set gas to “Low” for non-urgent transactions in MetaMask’s fee settings.
How do I recover a MetaMask wallet on a new device?
Install MetaMask on the new device, click “Import an existing wallet” instead of creating a new one, and enter your 12-word Secret Recovery Phrase. Your wallet, all accounts, and token balances will be restored. Never enter your SRP on a site that asks for it — only enter it directly in the official MetaMask app/extension during the import process.
Is MetaMask free?
Yes, MetaMask is completely free to download and use. The only costs are Ethereum network gas fees (paid to validators, not to MetaMask) and a small fee on token swaps done within the MetaMask interface (MetaMask charges ~0.875% on in-wallet swaps). You can avoid the swap fee by using DEXs like Uniswap directly.
This guide is for educational purposes only. Always verify official URLs and smart contract addresses before connecting your wallet or approving transactions. Never invest more than you can afford to lose in DeFi protocols.